Congratulations, you’ve decided to start your very own podcast. As Obi-Wan Kenobi once said in Star Wars: “you’ve just taken your first step into a larger world.”
If you’re like most people that have taken this first step, you’re running up against a problem:
You’re not alone!
It’s very easy to become overwhelmed in this new world of audio recording. But if you’re looking to get started quickly and easily, it only boils down to three necessary essentials you’ll need to record your very first podcast. Let’s have a look.
1) The Microphone
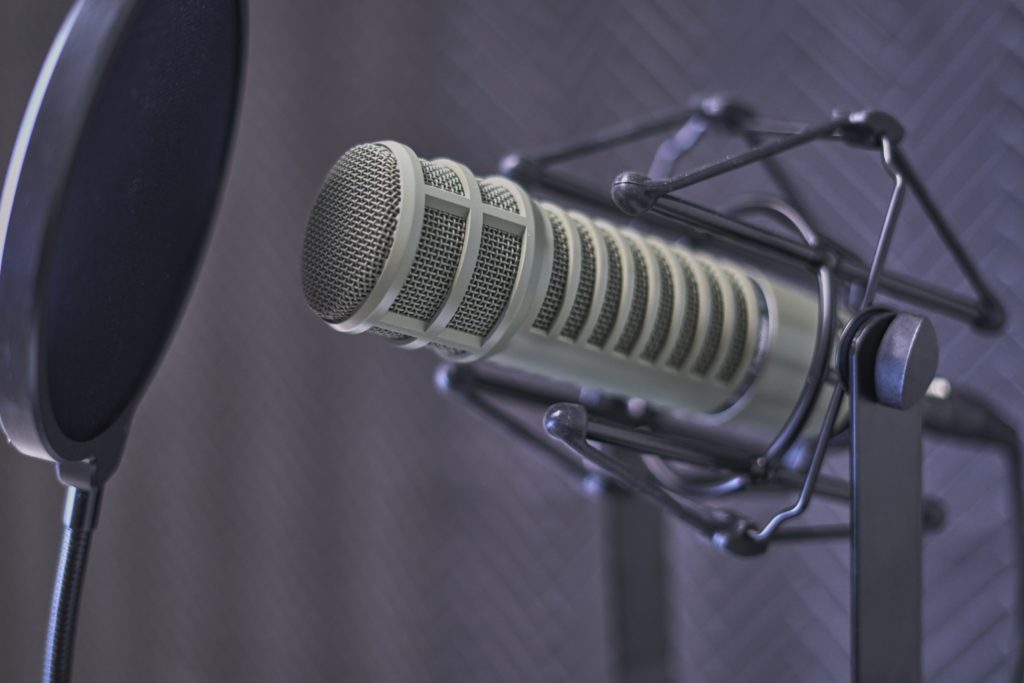
The very first thing you’ll need to record your podcast is the most obvious one: a microphone. Technically, you could use any mic you have at your disposal—like a pair of AirPods or your built-in computer microphone. But using these, or any variation of headset or computer mics can create a number of challenges that will ultimately reduce the quality of your audio.
If creating a great podcast experience for your audience is the top priority (which it should be), you are going to want to look into other options for your dedicated podcast microphone.
Luckily, you have a number of affordable options at your disposal. But before we dive in and you start filling your Amazon cart, it’s important to understand the differences of each type of microphone so you can find the one that best fits your needs.
At the simplest level, microphones can be broken down into three main groups:
Dynamic Microphones:
These are the microphones of choice for broadcast professionals. Unlike the other mics listed below, they are not overly sensitive. Therefore, you get more of a focus on your voice, and less distraction from background noise. They also don’t require any additional power other than a preamp.
Condenser Microphones:
When you think of a microphone used in a professional studio, you’re probably imagining one of these mics. Their clarity and fidelity are unmatched, but they require additional power to operate and are highly sensitive to background noise.
USB Microphones:
Ok, USB mics technically don’t qualify as any mic “type” as they can be both a condenser or dynamic microphones. What makes a USB mic different is the way it’s powered and how it connects to your recording device or computer. Connecting them via a USB port makes them easy to use, convenient to travel with and is a good choice for any podcaster on a budget.
2) The Recording interface/Computer
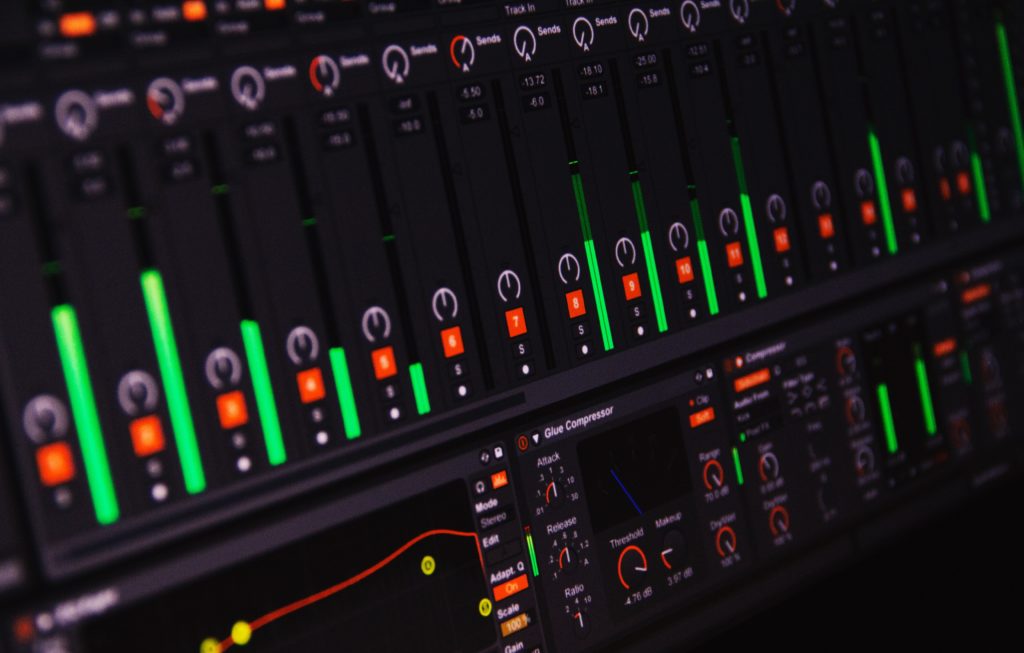
Once you choose your microphone, you’ll need something to record your audio signal. Yes, you can use the recorder on your phone or tablet. Yes, there are apps like Evernote that can record audio notes. But taking this approach is only going to yield poor audio quality (unless you use an iRig, which we’ll cover later).
Just like choosing a microphone, there are a number of options to choose from. Being able to distinguish the differences will help you choose the option that best suits your needs. Let’s dive into a few options:
Your Computer:
In the age of digital audio, computers are at the heart of everything. Using a Digital Audio Workstation (or DAW), the audio that you feed into the microphone will record directly to a digital file on your computer. After recording, your DAW also allows you to edit and polish your audio file for publishing. There are many different DAW options available including some free ones like Audacity and GarageBand. The right one for you will depend on which feels most comfortable and intuitive to use.
The Audio Interface:
Unless you’re using a USB mic, you’re going to need a way to bring the live audio from your microphone into your computer. Most mics use something called XLR connections, which I’m sure you already know, can’t be found on any computer. An audio interface will not only feed your analog audio into your DAW via the mics XLR connection, but it will also power your condenser mics and boost your microphone volume level with internal preamps!
The Digital Recorder:
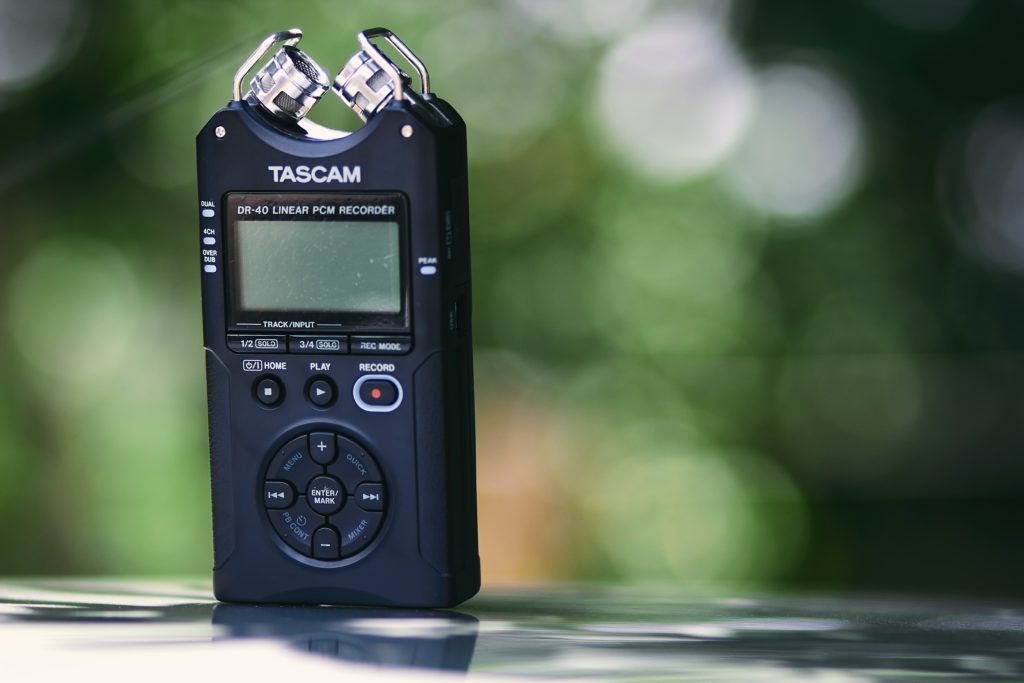
These mostly portable devices serve as your audio interface and your recording device all in one package. With these, there’s no need to use a computer to record your audio as the digital audio is written and saved right within the device or memory card. These are great options for recording on the road; but if you’re looking to edit and polish your audio before publishing, you’ll still need to import the file to your DAW on your computer.
iRig/Phone/Tablet:
Yes, yes, I know I said using your phone or tablet to record your podcast would result in poor audio quality, but there is one exception: using an iRig. These small portable devices contain an XLR input for your microphone, built-in preamp to boost the level of your mic to appropriate volume and connects to your phone or tablet. It’s never a good idea to use your phone’s microphone to record your podcast, but this allows you to use your dedicated podcasting mic with your mobile device!
3) Headphones
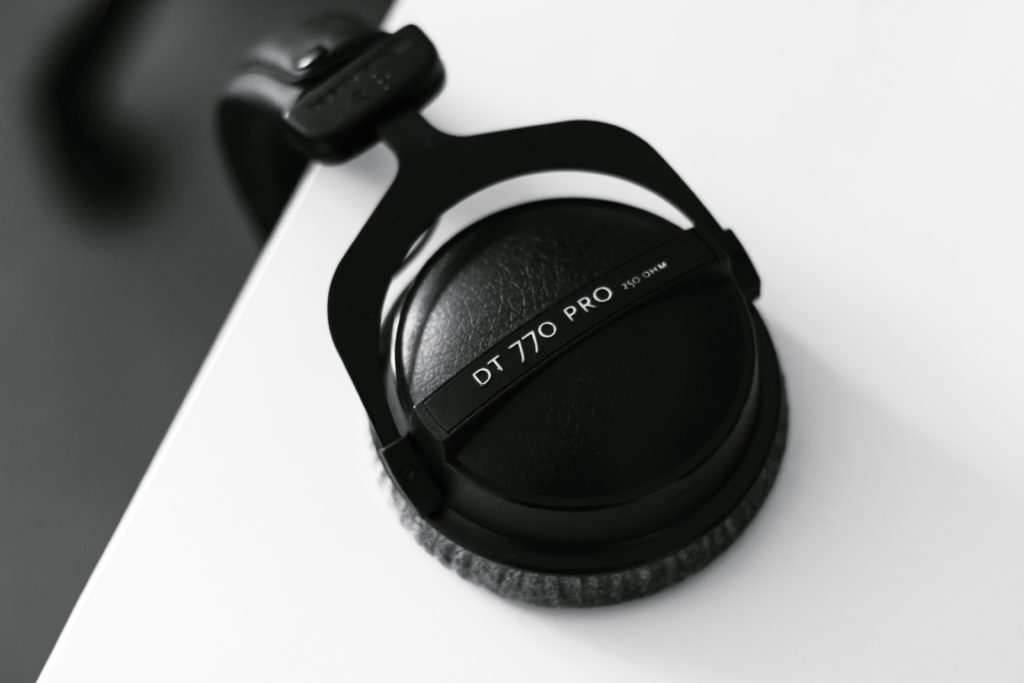
This is an easy one. There are a variety of headphones on the market today, and any kind of headphone will do.
By not using headphones, crosstalk will occur, making it increasingly difficult to isolate each individual track/speaker. This creates problems during the editing and mixing process and ultimately degrades the audio quality of your final episode. This is especially true if you are recording remotely via a video conferencing platform, such as Skype.
Luckily, there’s a simple solution: just use headphones!
Yes, there are many more tools available that will help you maximize the quality of your podcast recordings. But at the very least, these three essentials will allow you to record a great quality podcast episode at a relatively low cost.
I’ll be diving deeper and running through some of my favorite options for all of these tools in future posts, but if you can’t wait to learn more about optimizing the quality of your podcast recordings, feel free to reach out anytime! Until next time…
Did I mention to always use headphones?

